The first step to using MoleMapper™ is to map your moles. Using your phone’s camera, the app will guide you to capture images of the moles on your skin. You can think of the first time capturing your moles as a “baseline,” which you will compare with future images.
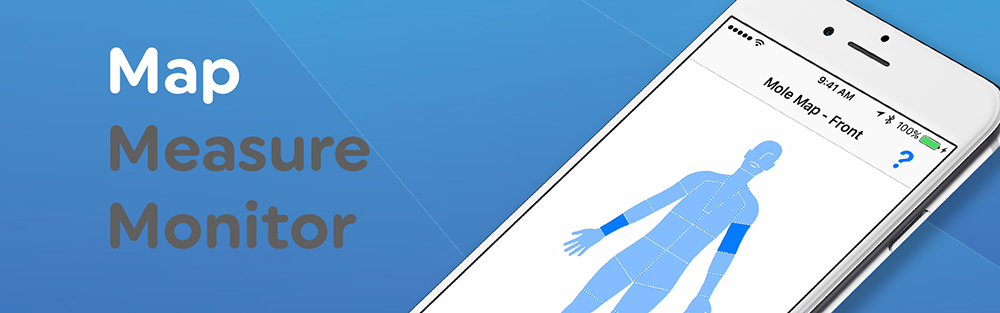
The app breaks down regions of your skin into “zones” that you measure individually. Each zone may contain several moles and you can track each of them separately.
- Select the zone you would like to capture by tapping on it and the app will use your phone’s camera to take a picture. To insure privacy, these pictures are stored only for MoleMapper’s use and are not available in your photo library. Because size, depth, and angle may differ from each picture, including a coin for reference will allow the app to measure the size of your moles.
- Tap on the screen when you are ready to take the image, and the app will automatically focus and take the image. If you are unsatisfied with the position or clarity of the image, you can retake images until you are satisfied.
- Tap your finger on the image of the coin and the app will draw a red circle around it. If the circle looks good, tap “OK” otherwise tap “Cancel” (to try again) or “Fix” to fix the circle size and position. When you approve the circle, you will be prompted to choose which coin it is.
- Now tap on your moles in the image, and it will add a map pin with a blue circle around the mole. You again have the choice of tapping on “OK,” “Cancel” or “Fix” if the circle isn’t quite right.
When you are satisfied with the size and positions of the moles, tap “Done” in the upper right corner and you will have completed your first mapping!